I want to become the kind of Mommy who can cook, sew, create, entertain, and take care of my sweet baby in every sense of the word.

Creating this blog is just one way to hold myself accountable to make the time to create, cook, organize, better myself, and craft, and each day I will document it and post it for the world to see.

I am not your typical Mommy... I nurse in public * My baby does NOT sleep through the night * I can't fit back into my pre-pregnancy jeans (My baby is almost a year) * I make all of my own baby food * I get bored easily (and so does my baby) * I am doing it ALL om my own - My husband owns and operates a restaurant, so he works 7 days a week and is gone about 14 hours a day. ~also a key point when remembering that I don't know how to cook~... he's the chef, so he's either cooking for me, or bringing home food from the restaurant

Monday, April 30, 2012

FUN for all!

Something Fun to make with the kiddos, and something fun to make for Momma!

Homemade, non-toxic, edible (though not tasty) Finger Paints!
What you need: 
1 cup of Corn Starch
1/2 cup of cold water
2 cups of boiling water
food coloring


Mix the corn starch with the cold water and stir together. Pour in the boiling water and stir between each cup.

Next, separated it into individual jam jars before adding color.

Jaden helped!
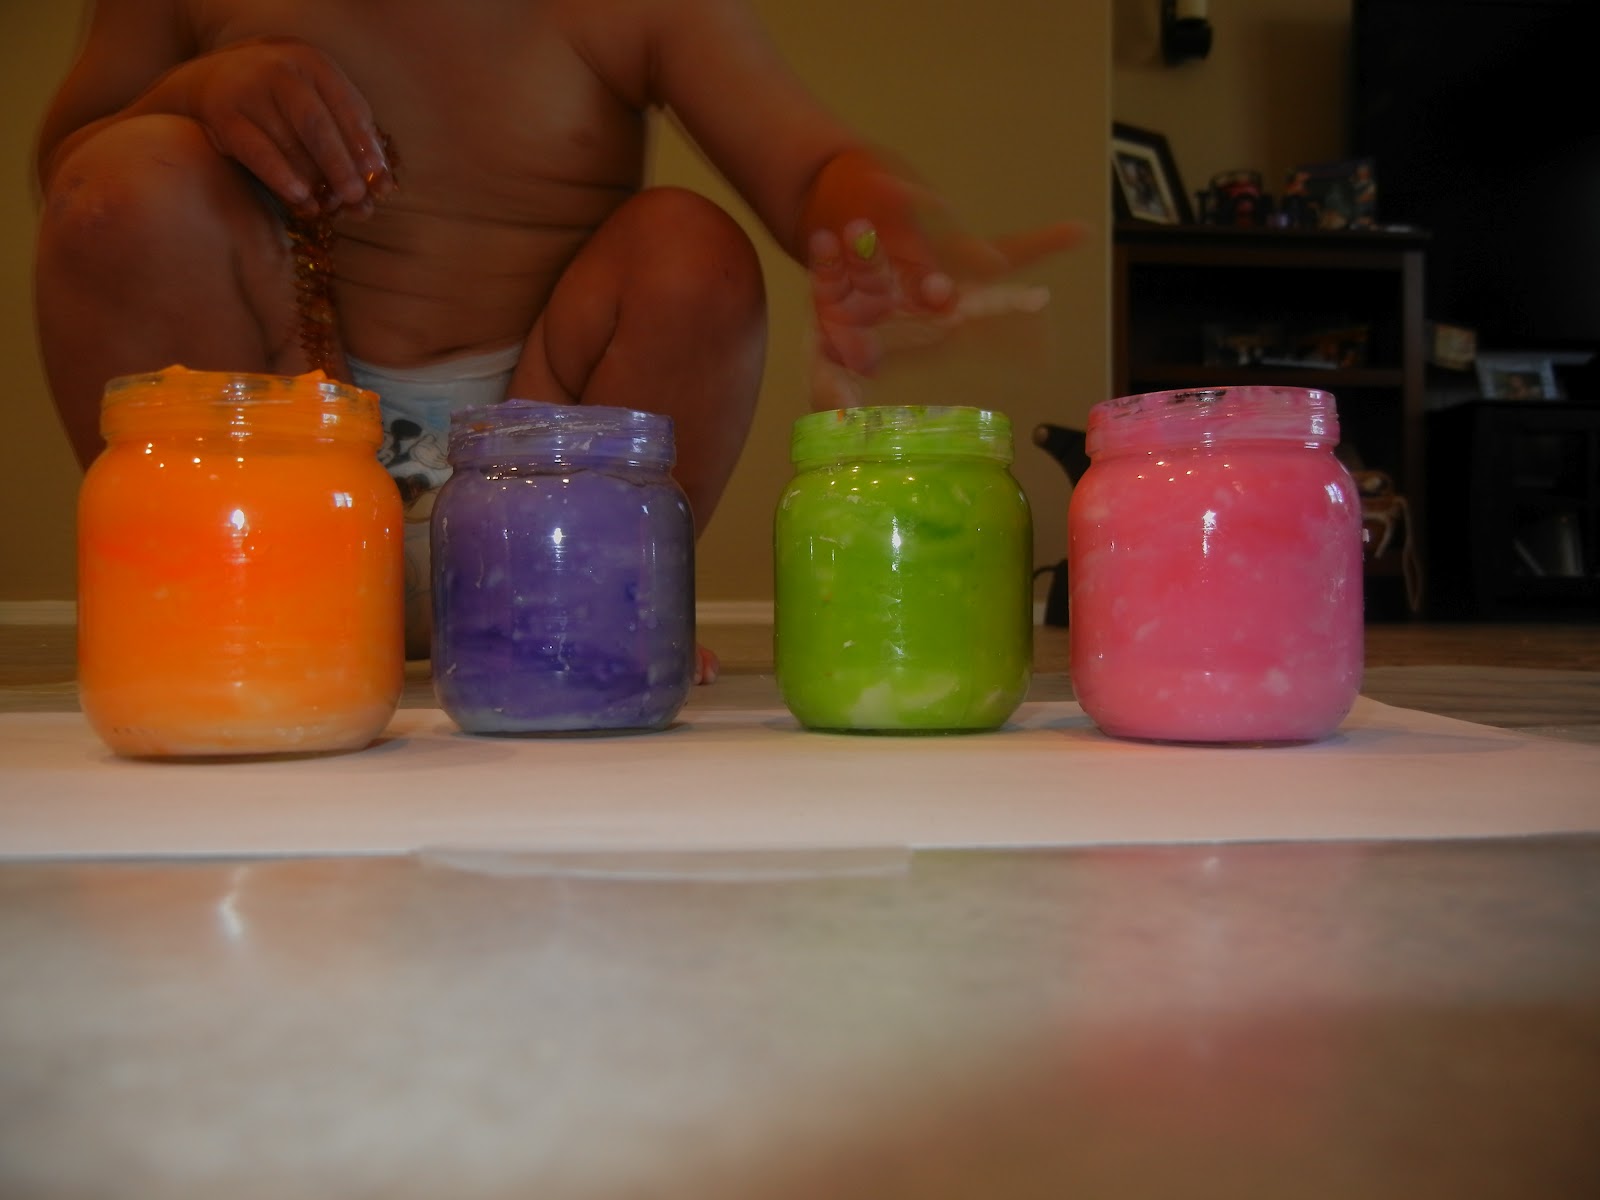
sooo cute!  I used baby food jars
Jaden was having a blast!  He even tasted it!
Masterpiece!


Now time to make some fresh brewed iced coffee...  Perfect for the hot summer days to come!
I recommend using a dark roast.

I grinded about 6oz and put it in the pitcher first, then I and filled the pitcher 3 QT (96oz) full of cold water
Then let it sit for 12 hours (or more if you'd like)


 Next I put a strainer over a new container with a coffee filter, and slowly poured the coffee in.  This took quite some time, and I changed out the filter twice.  I also used a wooden spoon to push the liquid through all of the grinds once it slowed down.

Then I threw the pitcher of the iced coffee in the fridge, and I pour a nice smooth glass over ice every morning... I'm quite sure this batch will last me a couple of weeks, if not longer!


Saturday, April 14, 2012

EASY EASTER

3 of the easiest Easter crafts that look way more difficult than they really are!

Check it out...

For my Peeps


SUPER easy.  If you have to bring a treat to a party, I recommend these.  I made them for an Easter play date that I hosted, and Easter Egg Hunt that my sister hosted, and our family Easter Brunch.

All you need is:
Rice Crispy Treats
colored melts
Bunny Peeps
Sprinkles.

Brush the melts onto the rice crispy treat with a pastry brush, stick on the peep, and add sprinkles... DONE!


Easter Wreath


All you need is:
Foam circle
Plastic Easter Eggs
Easter grass
Wooden Letter
Hot Glue Gun

First hot glue the grass to the circle, then the letter, then the eggs... DONE


Coolest Craft on the block!


All you need is:
Wooden, sanded 2x4 blocks
White Acrylic Paint
Pink Acrylic Paint
Green Acrylic Paint
Wooden letters

Hot glue gun

First I painted the blocks white and the wooden letters pink.  Then I hot glued the letters to the blocks and sponge painted green around the edges... DONE


P.S.  Add SPRING to the other side of the blocks and once Easter is over, just turn them around for double the crafting fun!


Fun Easter Baby pic...